If you’re wondering how to paint Ikea furniture and if it’s actually possible, the answer is YES!
Whether you’re wanting to paint over Ikea laminate furniture, unfinished wood dressers, or Ikea PAX wardrobes, the process will be the same.
We successfully completed our latest Ikea hack project – a custom DIY closet built out of the Ikea PAX closet system – where we painted the PAX doors and entire wardrobe!
In this post, we’re sharing everything you need to know about painting Ikea furniture, including the exact primer and paint to use.

This post may contain affiliate links, which means we’ll receive a commission if you purchase through our link, at no extra cost to you. You can read our full disclosure here.
How to Paint Ikea Furniture
The steps for painting Ikea furniture or a PAX wardrobe unit are prep, prime, and paint.
Whether you’re painting a dresser or unfinished wood, the process and products used will be similar.
Exact PRIMER to use: B-I-N Shellac-Based Primer and Sealer
- Don’t skip primer! This is super important to achieve a smooth and long-lasting finish
- Fast-drying primer that sticks to all surfaces without sanding (but we sanded just in case)
Exact PAINT to use: Sherwin Williams Emerald Urethane Trim Enamel Paint
- Self-leveling paint that creates a durable and hard finish
- Water-based enamel paint used for cabinets, doors, and trim
- We like the Satin finish but it also comes in Gloss and Semi-gloss
Continue reading for all the details on the tools needed to prime and paint for your Ikea hack project!
Prep for Painting
The first step is to prep the surface to prime. You’ll want to sand and fill any holes you want to cover up.
For our Ikea PAX closet hack project, we used a high-quality wood filler to fill all PAX holes and all exposed screw holes.
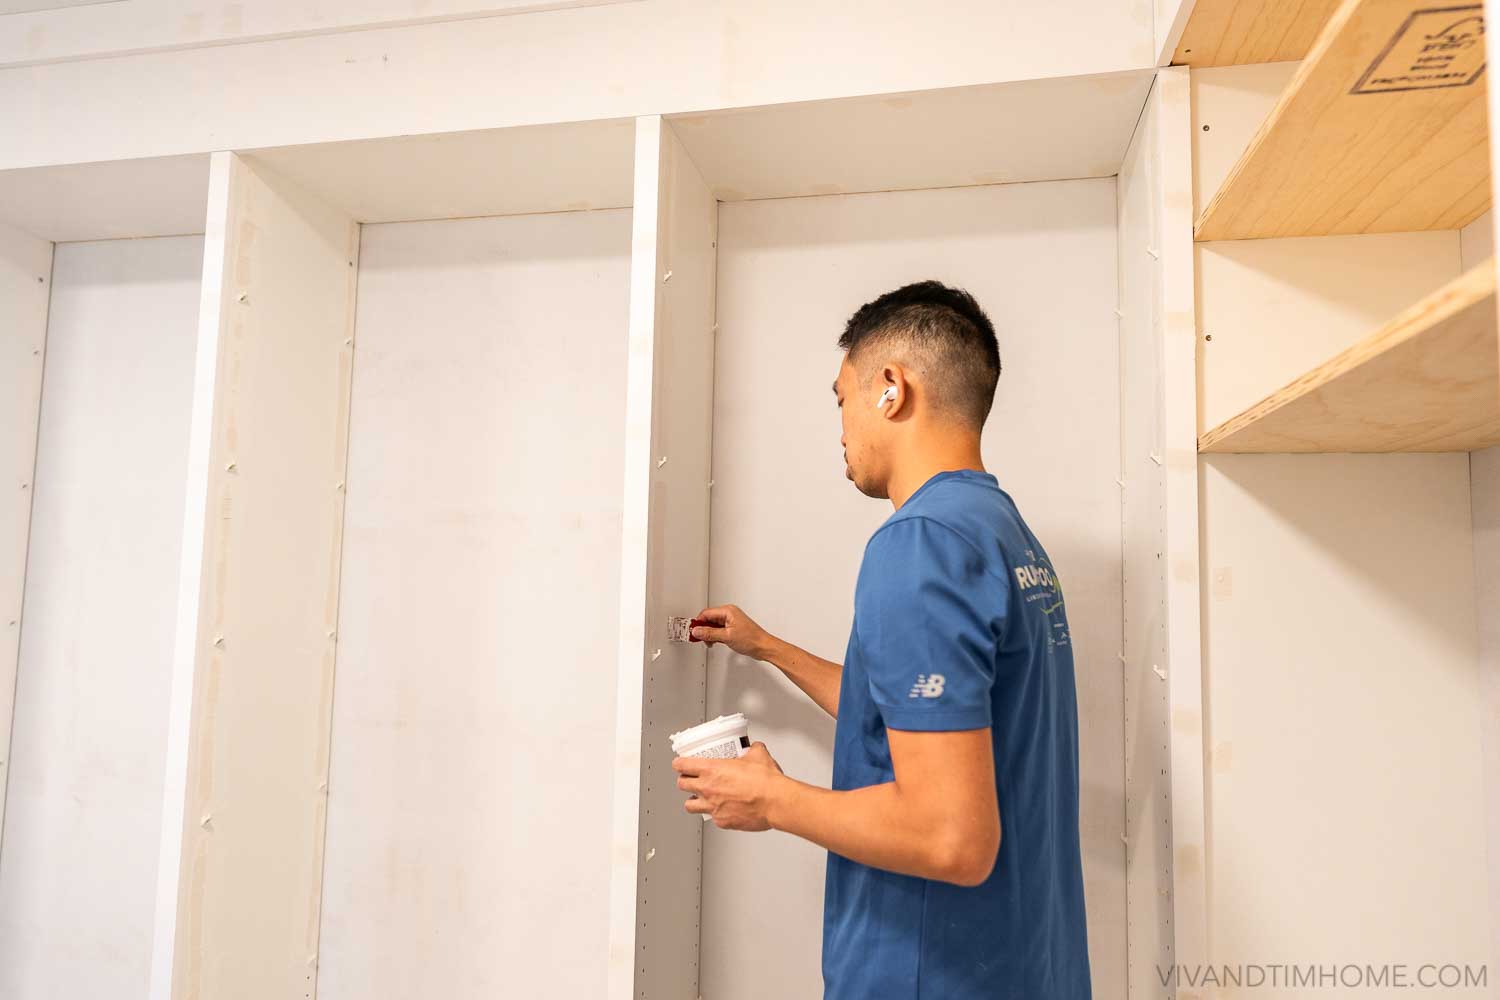
We used an orbital sander with 320-grit sandpaper to remove the excess filler.
For tighter spots, a hand sanding block worked well.

The filling and sanding was a very tedious process but was extremely important for the final finish.
Spending the extra time at this step is worth it to get a smooth finish once painted!

Prime
Best Primer to Use for Painting Ikea Furniture
To achieve a long-lasting and durable finish when painting the PAX or any laminate Ikea furniture, this is the exact primer to use!

The consistency of the primer is runny and you’ll have to make sure to mix it well before starting.
The fumes are very strong so make sure to use a respirator with filters and open up windows for adequate ventilation while applying.

Materials Needed for Priming:
- Primer
- For reference, our closet needed 2 gallons of primer (we had around half a gallon left over)
- Foam Roller and Roller Frame
- This was our first time using a high-density foam roller for paint application and the primer finish turned out so smooth once dried!
- Foam Brush
- We used this for the harder-to-reach areas like the corners
- Disposable Roller Tray
- Disposable Cup
- We used a Dixie cup to scoop primer into the roller tray to avoid the mess of pouring straight from the container

For easy cleanup, we threw away the foam roller, brushes, and tray since you need solvents to clean them.
Because of that, we made sure to pick cheap tools to dispose of after using them just for priming.

How Long It Took to Prime:
Priming one side of our PAX Komplement shelves and doors took 40 minutes (and we had a LOT of shelves).
We ended up doing two coats of primer just to make sure there was even coverage. This primer dries extremely fast so you’ll want to work quickly and try to always work with a wet edge.

Priming the closet frames took a lot longer and ended up being around 2 hours for one coat.
We set aside one whole day to prime everything.

Two Coats of Primer is Best
Ideally, TWO coats of primer will get you the best results!
For the back of the drawer fronts we only primed with ONE coat since you won’t be able to see it and the front of the drawer fronts got TWO coats of primer.

The drawer fronts that were primed with two coats turned out so much smoother and had an overall better finish.
Since this primer dries super quickly (with dry to the touch in 20 minutes and recoated in 45 minutes), you’re able to get in your second coat shortly after.

Caulk
If you have any vertical seams or gaps on your Ikea shelves or dressers, use caulk to achieve a smooth and continuous finish.
For our closet hack project, we used paintable caulk on the baseboards, shoe, shelves, and anywhere where trim boards are perpendicular to each other.
The more expensive Big Stretch brand caulk is known for not cracking or shrinking over time.

How Much Caulk to Buy: We needed about 2 tubes of caulk for the entire closet.
We also had a helpful caulk tool which made it much easier than using a finger to smooth out the bead of caulk.

Wood Filler
We filled any gaps between the vertical 1×2 stiles and horizontal 1×2 shelf trim with wood filler and sanded smooth.
It was pretty tricky to get this to look perfect but did the best we could!
Again, it’s important to take your time with this step since after painting you WILL see imperfections in the wood filler if not completely smooth and seamless.

Here’s how the whole space looked after hacking the PAX with all remaining trim installed and primed (ready for paint).


Picking Out a Paint Color
For our Ikea closet paint color, I wanted a light greige color to keep the space light and bright but warm and inviting at the same time.

To pick out a closet paint color, we tested a few different paint samples using Samplize which is a super easy way to narrow down your paint selections without having to get jar samples that you actually have to paint.
I tried out SW City Loft vs. SW Aesthetic White and thought that Sherwin Williams Aesthetic White was the winner!

Then, I ordered a quart of Sherwin Williams Emerald Urethane Trim Enamel paint to test the actual trim paint on a scrap 1×10.
It was important for me to use the ACTUAL satin trim paint for my final sample instead of the sample paint just to make sure it was the most accurate sample.
The trim paint we bought has a satin finish and sometimes the difference in sheen can change how the paint ends up looking in the space, so I wasn’t going to take any chances on messing up the paint color.

After placing my paint sample in various spots around the closet and observing the color during different times of the day, I felt really good about moving forward with Sherwin Williams Aesthetic White.
This paint color was the perfect subtle and pretty light warm gray color for our closet design!
What Type of Paint to Use to Paint Ikea Furniture?
The exact paint we used to paint our Ikea PAX wardrobe was Sherwin Williams Emerald Urethane Trim Enamel Paint in Satin, which is a water-based enamel paint typically used for cabinets, doors, and trim.
According to Sherwin Williams website, this paint “creates a hard durable finish that withstands the wear and tear of frequently cleaned and used areas.”

What we like about this paint is how well it self-levels and results in a smooth beautiful finish.
We had great results painting the Ikea PAX doors, Komplement shelves, and PAX wardrobe units with this exact paint!
The paint from the Emerald line is expensive but we think it’s worth the cost and usually will purchase during their frequent 40% off sales.
One thing to note about the Emerald Urethane Trim Enamel paint is the cure time. While the paint will dry to the touch in a few hours, it can take 30 days to fully cure depending on temperature and humidity.
During this cure time it’s best to be careful with the painted surfaces, as even your fingernail can create marks in the paint.
We always use the Sherwin Williams Emerald line for our DIY paint jobs and always have great results!
Prep Your Space for Spraying
To prep for spraying in the closet itself, we masked off the ceiling and walls with painter’s plastic and flooring with construction paper.

Paint Sprayer
The paint sprayer we bought was the Graco Magnum X7 – decided to get a better one since we will be using this paint sprayer for future projects as well.
After doing a lot of online research, we selected the 310 Graco Fine Finish Spray Tip and Tip Guard, which was the recommended combination for spraying cabinetry.
If you don’t have a paint sprayer, you can achieve really great results using a small roller as well (and it’s a lot simpler to do)!

Setting up the paint sprayer took around 30 minutes to figure out.
You’ll need a bucket (either 2 gallon or 5 gallons) for the paint to be strained in and for the tube to suck up the paint.
We used mesh strainers to remove any contaminents that could clog the paint sprayer.

After setting up, we did some test sprays to get a good feel for it and adjust the pressure as needed.
Two Total Coats of Paint
The first coat went pretty quick – 20 minutes for drawer fronts (did the backs first) and IKEA doors (also did the back part first).

We sprayed the drawer fronts and PAX doors in our garage with one of our garage doors open on the far side for ventilation.

Spraying the closet itself took 1.5 hours for one coat. We decided to spray with all the shelving in but did take out the drawers and drawer mounts.
ALTHOUGH in hindsight we wouldn’t recommend spraying the closet indoors – keep reading why!

Make sure to wear a paint suit otherwise, paint WILL get all over your hair, arms, and basically everywhere (ask us how we know).
We didn’t need to wear the paint suit while spraying the drawer fronts in the garage so didn’t think to use it for the closet but I think the closet was in a much smaller space with almost no ventilation.
Our Experience Painting the Ikea PAX Wardrobe
Spraying the closet didn’t end up as planned – the goggles fogged up with paint overspray while spraying so it was hard to see and we ended up spraying too thick of a layer as the first coat. This resulted in large paint drips on the back corners.
We knew spraying might be a challenge in this closet in a tight space, but it REALLY ended up being a big pain. While the paint was still wet we tried to smooth the large paint drips with a foam brush (even though you’re not supposed to touch it after).
In the end, we were pretty fed up with spraying the closet for a second coat and decided to apply the second coat with this roller instead.

To fix the few spots with paint drips, we sanded it down a few days later once dried and applied another coat on but this time with a small roller instead for the closet areas that needed touch-up.
If we were to do this all over again, we would apply TWO coats of paint with a ROLLER instead of spraying the closet frames indoors.
For the drawer fronts and IKEA doors, we did do the proper 2 coats of sprayed paint with 4 hours of dry time in between (spraying in the garage was not nearly as miserable and had much more ventilation).
How Much Paint to Buy
For reference, our closet used 3 gallons (plus our 1-quart test sample) of the Sherwin Williams Urethane Trim enamel paint.
How it Turned Out
The paint finish of the Sherwin Williams Urethane Trim Enamel was excellent!

The self-leveling properties worked really well and if the surface was primed well and sanded smooth, you’re able to achieve a beautiful professional finish.

We chose the satin finish since we don’t prefer too much shine and really like how it turned out!

You’ll want to wait until the paint is completely dry and cured which can take many days.
We waited around a week before moving on to installing the drawer fronts and PAX doors.
Before and After: Painting Ikea PAX Wardrobes


If you’re interested in seeing how we built this DIY Ikea closet hack, check out this blog post for a detailed step-by-step tutorial!


Conclusion
We absolutely love how our DIY Ikea closet hack turned out.
Painting the PAX wardrobes resulted in a completely custom look and you can’t tell it’s actually Ikea!
If you’re interested in seeing how we built this DIY Ikea closet hack, check out this blog post for a detailed step-by-step tutorial, including all the tools and materials you’ll need!
Painting this Ikea PAX closet gave us the confidence to tackle any Ikea hack again using the same primer and paint for a wood dresser or Ikea laminate furniture piece.
SAVE AND PIN FOR LATER:

We hope you found this Ikea furniture painting tutorial helpful!
Follow on Instagram @vivandtim.home for more modern home inspiration.


Leave a Comment